


.png)
Bed Side Shaker Tables, My Start Into Hand Tool Woodworking.
- Trevor Nicholls
- Apr 29, 2025
- 6 min read


This is the first project where I incorporated hand tools into my woodworking. Initially, I began constructing it with my power machines and equipment. Midway through the process, I decided that hand tools were the way forward, making this build my first attempt at this approach.
I begin all my projects using Sketchup 3D modeling software. This aids in better project planning and enables me to create a materials cut list. Although I'm still learning, I find the process enjoyable. I plan to build more in the future, and having these plans will simplify the construction significantly. I made many mistakes on this first try and making the necessary adjustment is made easy with these drawings. I have given some thought on selling these drawings once I get them right, if anyone would be interested let me know.

This is the idea I developed: a straightforward design featuring one drawer and a shelf at the bottom. The customer requested relatively tall and narrow tables to fit beside their bed in a limited space. I added a slight angle to the legs for a touch of style. I wasn't entirely sure how to incorporate any edge design, so I left it out of the sketch and came up with something later. It was a lot of fun experimenting with the different profiles you can caught with hand tools, I found out later on.

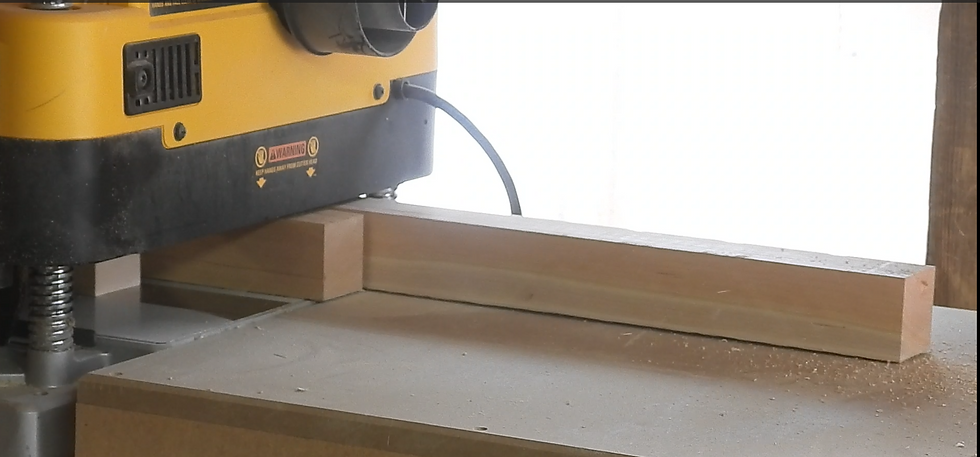
This is the initial cut list I created for the shaker table. I began by using the mitre saw to cut all the legs and aprons. The aprons will feature tenons that fit into the legs, which will have mortises cut into them. Additionally, the aprons will include a groove to accommodate solid paneling on the sides and back of the table.
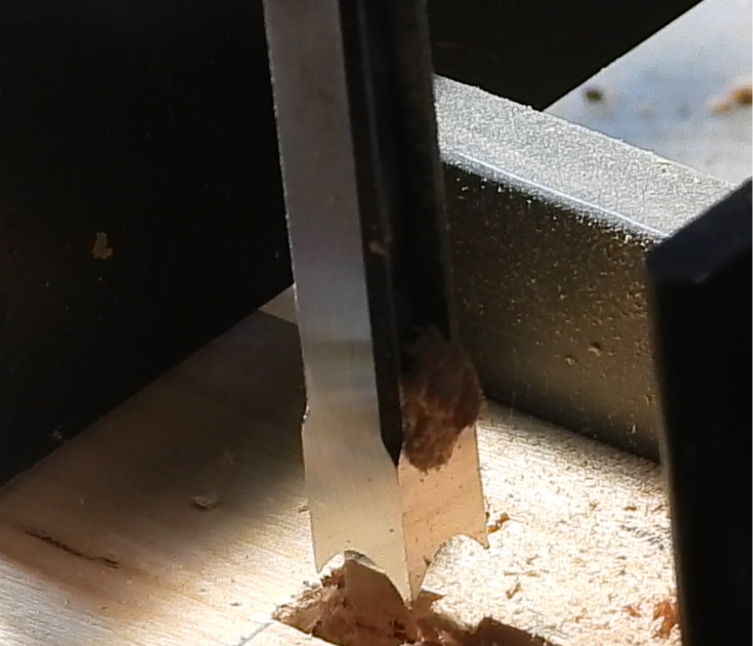
I began with the posts, placing them on my mortising machine to cut 10mm mortises into each leg, with six mortises per leg.
The mortising machine was a recent addition to my woodworking shop, an investment I chose to make. It worked efficiently, completing a task in a short time that would have taken me days otherwise. Opting against practicing my hand tool skills and taking the easier route ultimately cost me money—a lazy decision I now regret. I now find pleasure in cutting mortises by hand. I’m not sure why I was in such a hurry before, considering this is a hobby business.
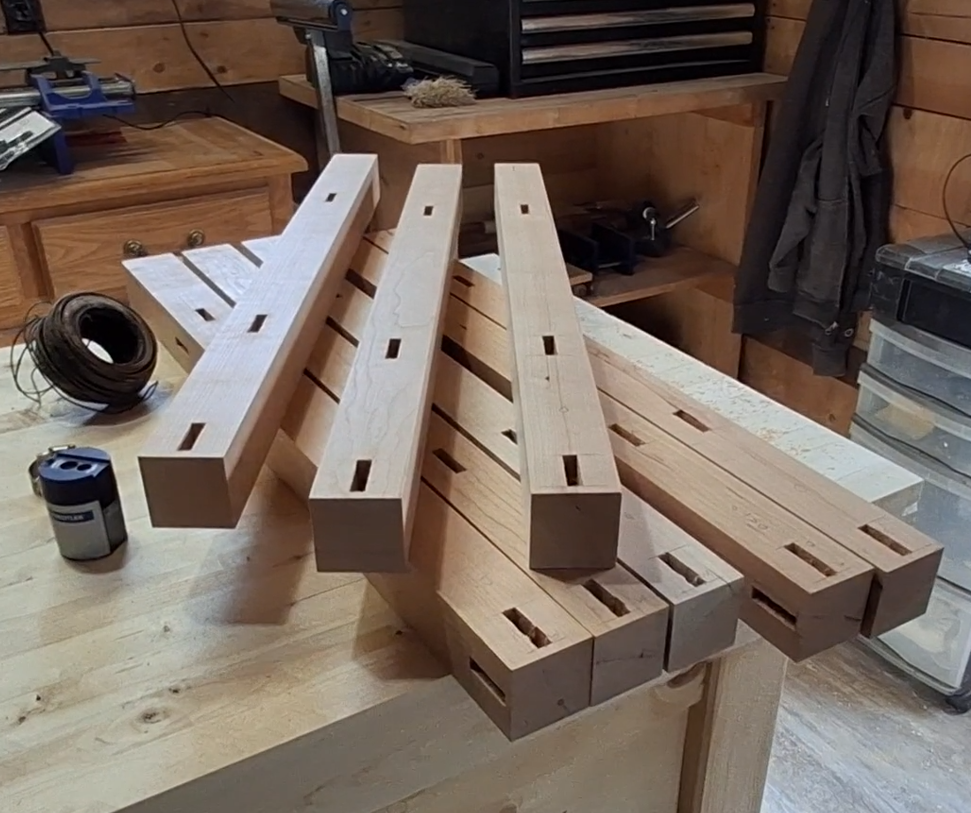
These are the posts with all the mortises cut into them. The machine performed adequately, but as with most tasks, I can achieve better results by hand.

Next, I set up the aprons on my table saw. I used a table saw sled that I built to cut all the tenons. I intentionally left them slightly oversized to sand them down for a better fit in the mortises. I was somewhat disappointed with the quality of my cuts on the table saw, as I wasn't achieving a perfectly square shoulder on all pieces. Something wasn't perfectly aligned, and I had to chisel each piece to ensure tight, gap-free fits in the mortises. I also employed a router plane to get the cheeks of the tenons to size. In the end, I was pleased with the result, but I considered trying a different approach in the future.

after I routed grooves into the aprons to accommodate the panels on both sides and the back, I decided that this would be the final task performed solely with power tools. I proceeded to dry fit the tables, ensuring each joint was labeled for its corresponding counterpart.
Traditional Woodworking.
The new path ahead for my small hobby business and me.

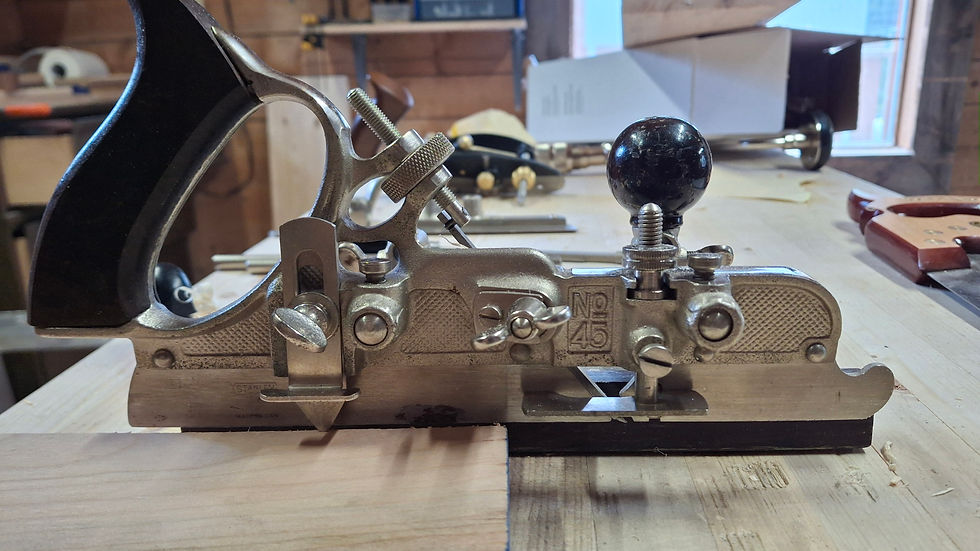
The shaker table project was temporarily paused as I discovered a new hobby. I invested a bit of money in acquiring some hand planes, hand saws, brace drill, chisels and some lay out tools. I spent a few months binge-watching YouTube, honing my cutting skills and hand tool techniques as much as I could. Eventually, I felt inspired to start building something, and my hand tool collection expanded to the point where I was fully committed. I no longer desired a table saw or a dust collection unit. Instead, I wanted mortising chisels and a ripping saw. When a Stanley 45 became available on Facebook, I found myself dreaming about it. I bought books and began reading about traditional techniques and practices. This made me feel satisfied and content.
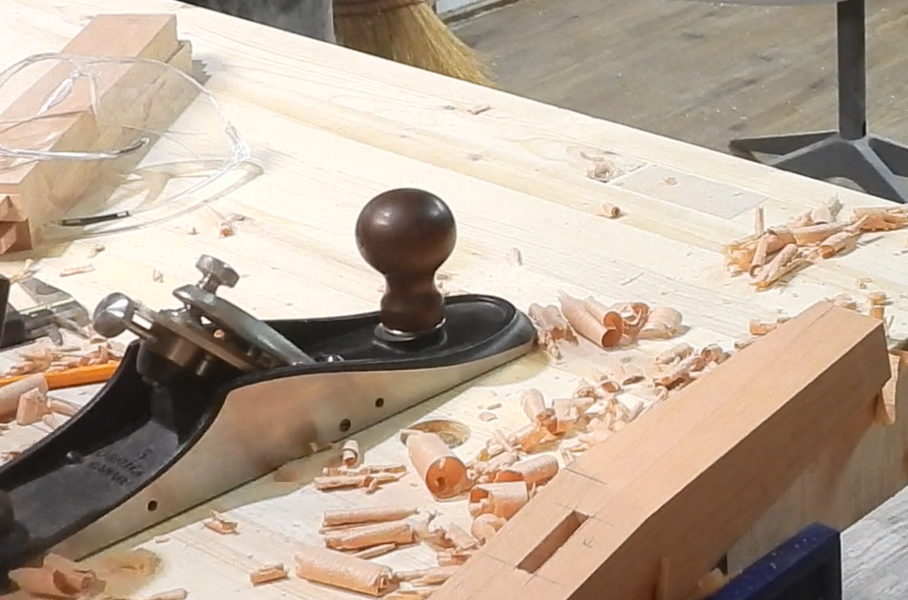
The subsequent steps in crafting the shaker table involved adding bevels to the table legs and then assembling it with glue. I felt confident in handling this with simple hand tools. I approached the bench and began working on the legs. The process went smoothly, as I successfully planed the bevels on the legs to completion without any problems. At that time, I wasn't comfortable using my hand saws; in hindsight, I would likely use them and then plane to tidy up.
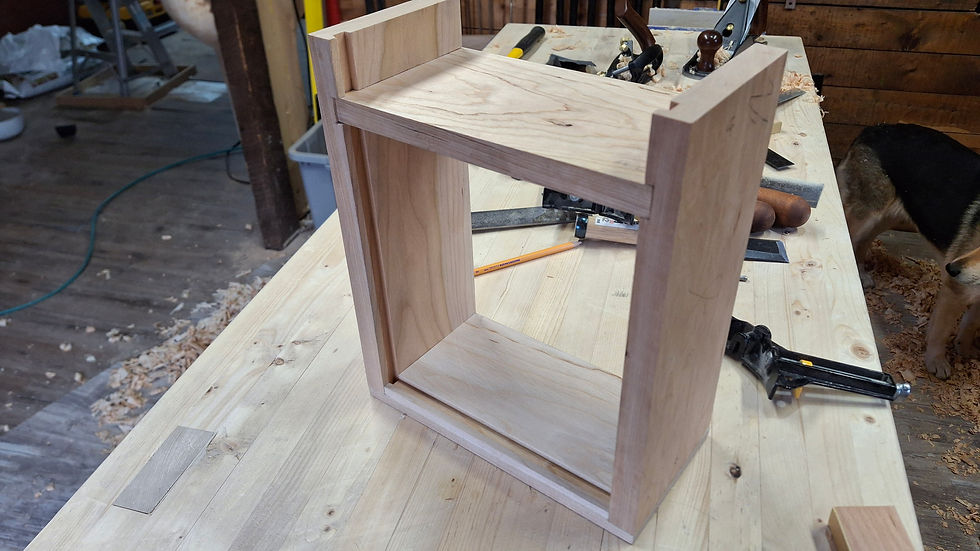
I successfully glued up the tables without any problems. I spent hours using a router plane to plane the cheeks of the tenons on the aprons to ensure they fit well with the tenons. Once the glue dried, I needed to make the drawers, the tops of the tables, and the bottom shelf. I was anxious about building the shelves, I had reassured myself that if it was too difficult, I could always complete the project using my power tools and begin a simpler project using only hand tools. However, I decided to attempt it by hand.

The first drawer turned out well. The most challenging part for me was planing all my boards to the same size, four square them, they call it. That means making all the faces and of the pieces square. I made numerous mistakes and had to redo many pieces, but I persisted. I genuinely enjoyed the process. I used my plough plane with a 10mm cutter to cut grooves along the length of all the drawer pieces. I hand-cut
and chiseled the sides to accommodate the drawer back, which secured the bottom in place. It was difficult, as I was learning to sharpen and use my tools, which was a bit overwhelming—a new learning experience compared to doing something quickly with my noise and dust-making tools.

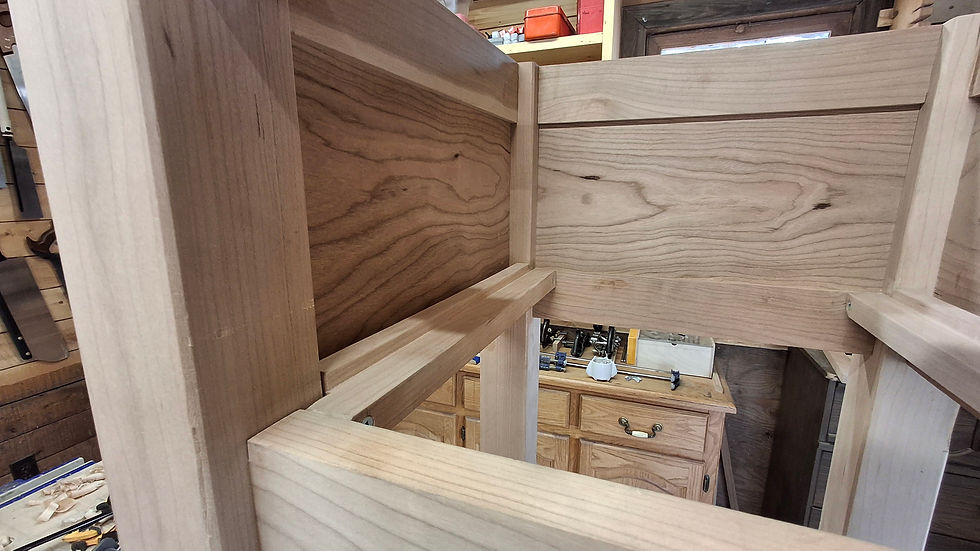
After completing my drawers, I crafted drawer slides from solid cherry pieces and manually drilled them into the legs to guide the drawers. I did this using my brace drill instead of a cordless drill. I appreciated the control and accuracy of the tool. My confidence was increasing. Each mistake and redo made the process easier and faster. I was swiftly rethinking my next project, ideas on how to approach tasks began to flow. Everything was becoming clearer, my cuts were straight and I was becoming more confident in my abilities.

The final step in this project was staining the completed table. I selected Tried and True Cherry for the finish. Over the course of a few days, I applied several coats. Once that dried, I polished it with 0000 steel wool and applied a furniture polish for the final finish.
The project was a success, and I'm pleased that it has launched my journey into a career focused on traditional hand tool woodworking as a hobby. I'm eager to tackle some smaller projects since I have numerous ideas and need to stock my empty store. Crafting walnut and maple cutting boards by hand will be the ideal next endeavor, or maybe picture frames, dovetail boxes, or some stools. I also have a wood lathe and would like to start building French rolling pins, pepper mills and some pens. Really anything I can think of is fair game.
I am eager to have you join me at my bench for the next project, where we will embark on an exciting journey of creativity and craftsmanship together. Thank you for taking the time to read this blog. This initial commissioned build marks the launch of my small business, and I am thrilled to share it with you.


Comments